Installing Parallel Coordinates in Seeq
The Parallel Coordinates Add-on/Plugin is a single ‘.plugin’ file. It can be installed by any Seeq admin user.
Note
You will need to be a Seeq Administrator to install this Add-on/plugin
Here are the steps to complete the installation
Enable plugin support on the Seeq server
Note
This step is needed if it is the first time a plugin has been installed on the Seeq Server. Skip this section if plugin support has already been setup on this Seeq server.
Go to the Seeq administration page from the page from the hamburger menu on the Seeq header:

Fig. 72 Navigate to the Seeq Administration panel from the hamburger menu.
Select the Configuration Tab :

Fig. 73 Select Configuration Tab.
Enable advanced configuration options.

Fig. 74 Enable advanced options.
Search for the Features/Plugins/Enabled option. Typing plugin in the name box should find it
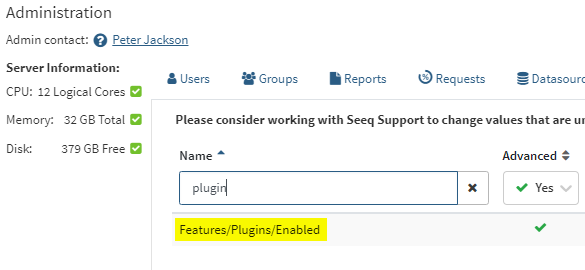
Fig. 75 Search for Features/Plugins/Enabled.
Click the edit button as shown in Fig. 76.

Fig. 76 Click the edit button.
In the edit box click override default value as shown below in Fig. 77
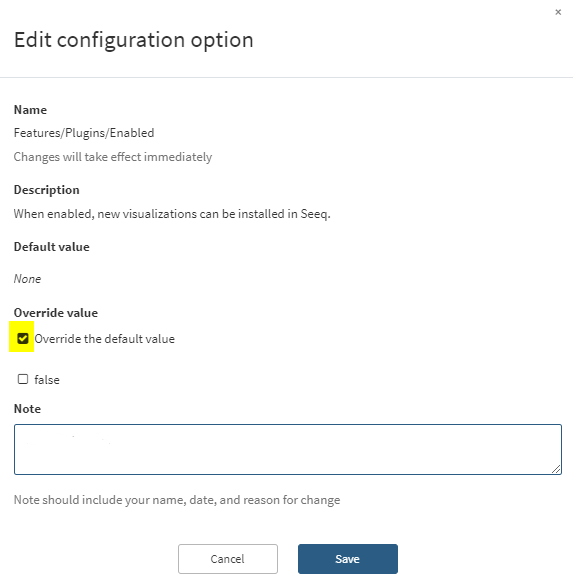
Fig. 77 Select override default value.
Click next to false as shown in Fig. 78. This will change the value to true ( Fig. 79)
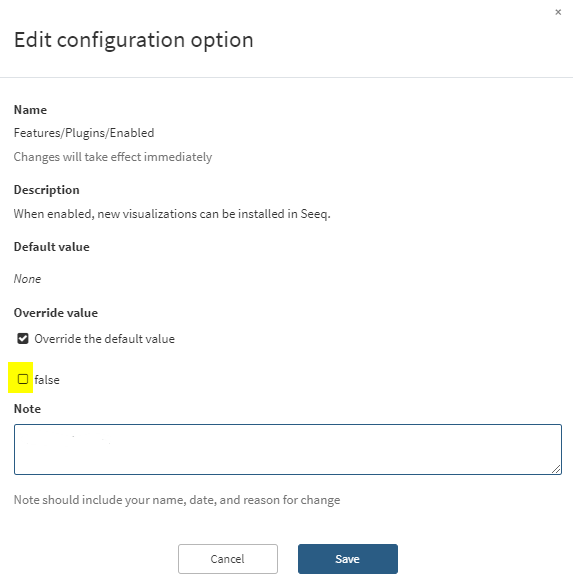
Fig. 78 Click the box next to False.
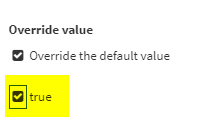
Fig. 79 The value will change to true.
Add a comment in the note box to document the change (required step).(Fig. 80)
Note
You will not be able to save the change if you do not add a comment.
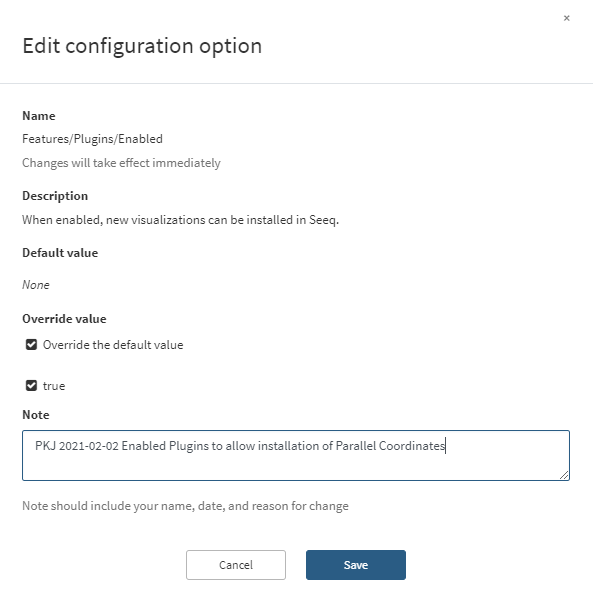
Fig. 80 Add a comment to document the change (required step).
Click Save to save and close the editor.(Fig. 81)
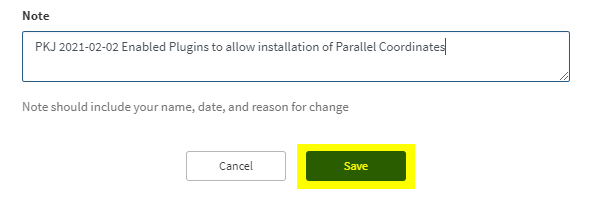
Fig. 81 Save
Next click the Save button at the top right side of the page. This should be enabled if you have made a change and added a comment.

Fig. 82 Click Save again to complete enabling plugin support on the Seeq server.
Upload the Parallel Coordinates plugin file
Once plugins are enabled (see Enable Plugin Support), a new tab called Plugins will appear in the administration form

Fig. 83 New Plugins tab appears after enabling plugin support (see Enable Plugin Support).
This Tab lists installed plugins, allows them to be uploaded or removed, and provides a way to configure user access.
To upload the Parallel Coordinates plugin, click the Upload Plugin button

Fig. 84 Upload Parallel Coordinates plugin.
This will open a file browser to allow you to locate the .plugin file on your machine. Once it is located and selected, clicking open will upload the plugin to the server and install it. It will then appear in the list of installed plugins
Configuring access to the Parallel Coordinates plugin
Clicking the Access control icon in the plugin list will open a dialog to configure users who can access the plugin.

Fig. 85 Configuring access to Parallel Coordinates plugin.
It is only necessary to grant read access to users.
Note
To grant access to all users configure read access for Everyone as shown in Fig. 86
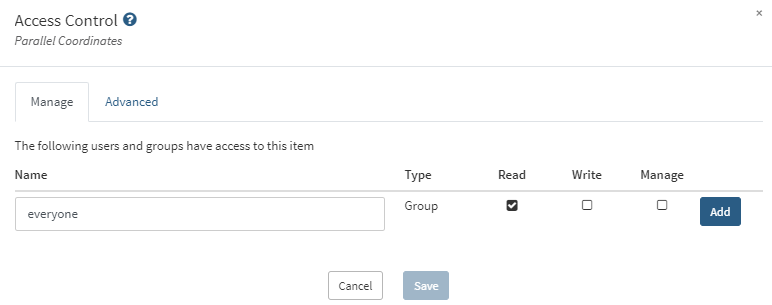
Fig. 86 Granting all users access to Parallel Coordinates plugin.
Access can also be restricted to individual users or groups. Seeq Administrators can always use plugins. For non-admin users, only those who have been granted read access will see the plugin on their Data view menu.
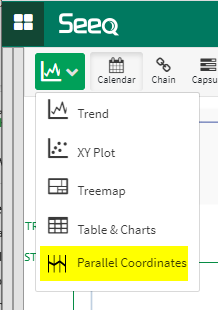
Fig. 87 Parallel Coordinates plugin installed and available for use.