User Guide
Once the Condition Monitor Scheduler add-on is installed, open the add-on from a Seeq Worksheet that shows at least one condition in the display panel. The add-on can be opened from Tools > Add-ons > Condition Monitor Scheduler
The Condition Monitor Scheduler add-on has three tabs: Scheduling, Templates, and Jobs.
Scheduling
In the Scheduling tab, you can input the email address of the recipient(s), the period of the notifications schedule, and optionally you can add the URL of an Organizer Topic.
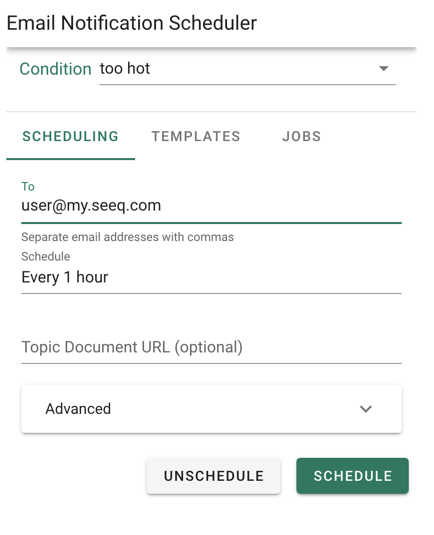 |
| Figure 1. Scheduling tab in the Condition Monitor Scheduler. |
Templates
In the Templates tab, you can customize the email message look and feel with an HTML template
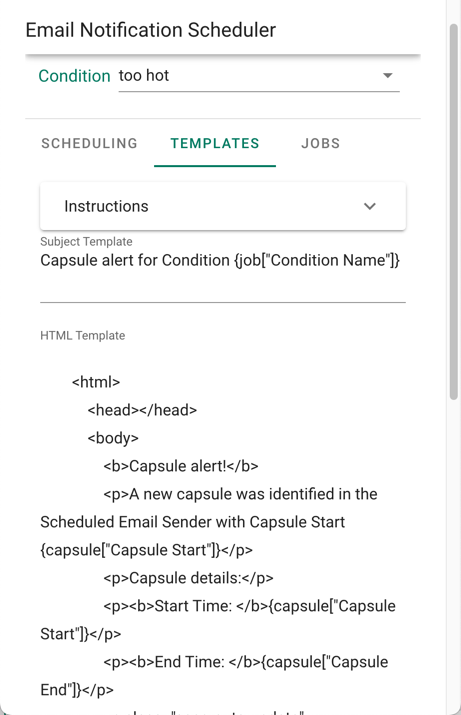 |
| Figure 2. Templates tab in the Condition Monitor Scheduler. |
Jobs
In the Jobs tab, you can see a list of the scheduled jobs and you also have the ability to unschedule jobs.
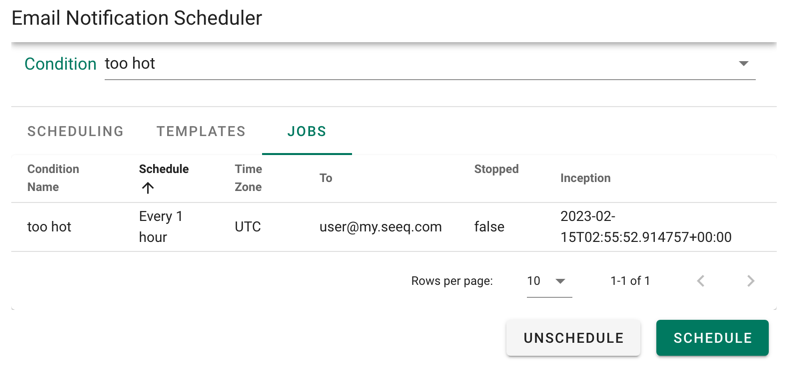 |
| Figure 3. Jobs tab in the Condition Monitor Scheduler. |